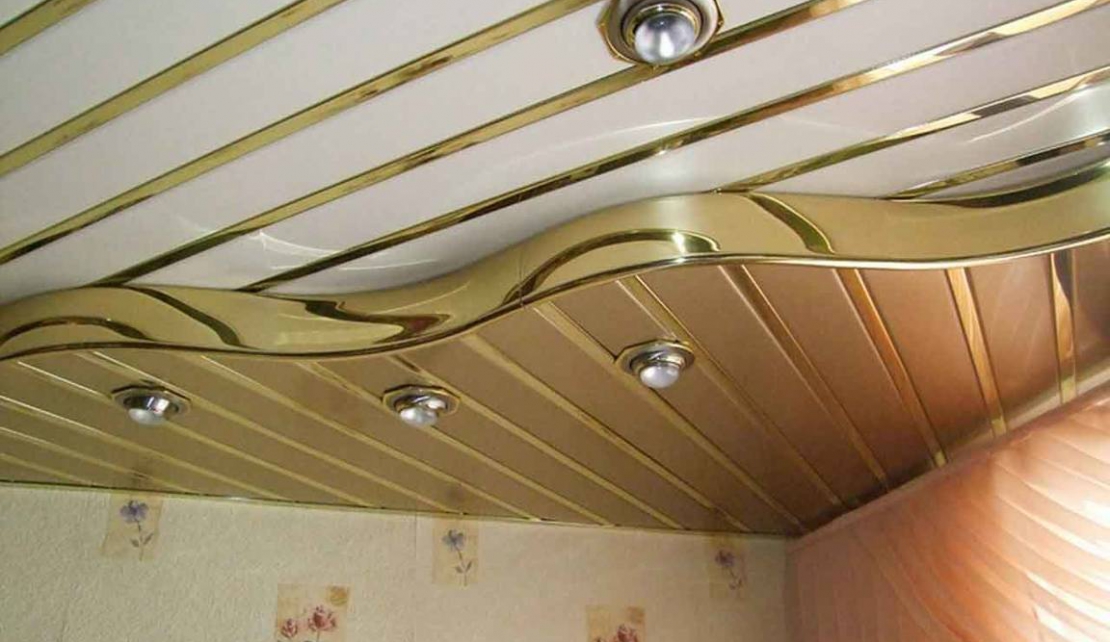
How to install a PVC ceiling

How to install a PVC ceiling

Before the installation:

• Check that the same shade and batch is used in one area

• Check it for any possible irregularities or damages

• Remember that PVC ceilings and cornices can’t be exposed to direct sunshine, as the product has no UV stabilisers. 

To install:

  • Remember that the maximum brandering space is 500mm. 
  • Line the brandering up, level or horizontal.
  • PVC ceiling panels can be screwed onto wood or steel brandering.
  • When screwing your PVC ceiling panel onto the brandering, ensure you use the correct type of screw (TS16 or SSDS16 PVCSA-approved screw). The panels need to lay in the same direction as the main trusses.
  • Ensure proper spacing between the walls when installing the ceilings. This is to help with expansion and contraction during cold and warm conditions. 
  • Check that the screw head is fastened properly. It must also sit flush with the ceiling panel’s groove. 
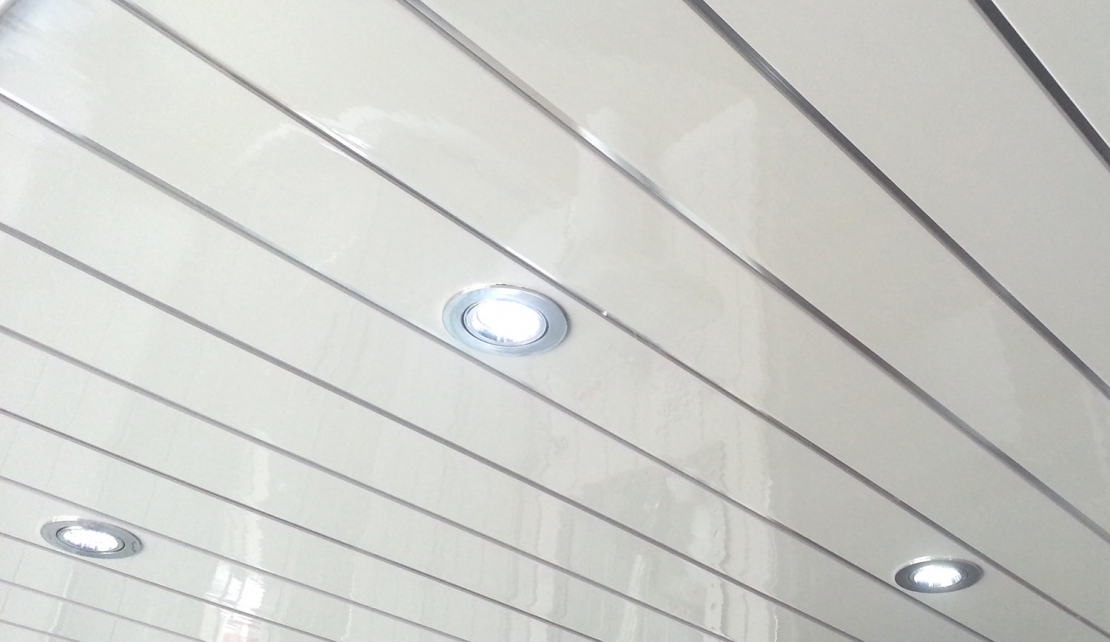
  • Clip the second panel with the tongue into the first panel’s groove. 
  • With the palm of your hand, knock each panel gently on the side to secure close fitment. Do this with every panel before carrying on with the next.
  • To fit the last panel, cut it lengthwise using a carpet knife.
  • Using the PVC cornice, finalise the installation.
  • After the fitment is complete, dust the PVC ceiling with a cloth to remove all dust and debris.  
 

Related Articles

Gutter Replacements

Gutter Replacements

The right professionals for PVC ceilings

The right professionals for PVC ceilings